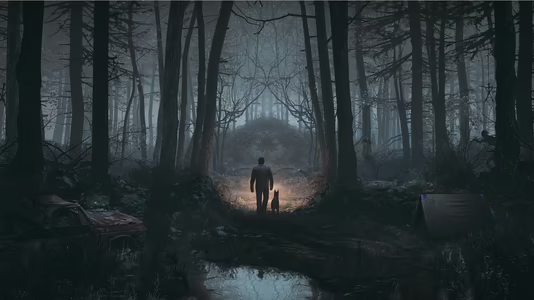
Blair Witch
25 Achievements
1,000
10-12h
PC
Xbox One
Xbox Series

Pacifist
End the game without killing any monsters Details for this achievement will be revealed once unlocked
100
0.32%
How to unlock the Pacifist achievement in Blair Witch - Definitive Guide
For a comprehensive guide, see my Not A WalkthroughTM list. It walks you through the entire game, including other story-related and collectible achievements.
Part 1: Blair Witch Not A Walkthrough - Part 1 - Beginning to Truck Fuse Puzzle
Part 2: Blair Witch Not A Walkthrough - Part 2 - Truck Fuse Puzzle to Rail Track
Part 3: Blair Witch Not A Walkthrough - Part 3 - Rail Track to Third Campsite
Part 4: Blair Witch Not A Walkthrough - Part 4 - Third Campsite to Finale
It's harder to be stealthy in the early game, but gets much easier after you get the new camcorder. Avoid every monster and don't shine a light on them. The best way to do this is to just never use your flashlight and rely on your camcorder's night vision the entire game.
You should only do this in a second playthrough since certain areas, particularly the Maintenance Shed and Camp B, can be difficult to find your way even when you have light. Using a flashlight in these areas will wake the monsters, and you won't be able to escape them without killing them (which you don't want to do).
Suggestions from the comments: crank up the brightness in the game, and don't use the rail car when you go to the Maintenance Shed and Camp B. In some sections, I did use my flashlight to get a feel for the area, let them kill me, then redo it.
Pay attention to Bullet, especially when he growls. He will point at monsters that you may not otherwise see. Don't worry if your screen starts flickering (you won't be able to avoid this), it's only when the screen turns red that you're being hunted. At that point, just let them kill you and restart your area.

42 Comments
nvm, just fixed it! okay, so for chapter 8 (the railcart mission) - which is probably the hard part of this achievement - as soon as u have inspected Camp A and are ready to go and grab those 2 parts ur missing, do NOT go to the two locations with a railcart... DO NOT. The lights of the railcart trigger the monsters to become aggressive and attack you. Just simply get ur cam open, put it in night vision, and then walk to those two locations on foot. When arriving at the maintenance shack, do NOT turn on the generator. Keep the area as dark as possible. Then simply walk to the shack by following the tracks to it, with ur nightvision camera. Once arrived, go to the back of the shack, and look through the broken wooden wall, and order Bullet to fetch the item for you. Then walk back to the intersection, and go right (towards Camp B). Once arrived, same thing, do not turn on the generator, follow the tracks to Camp B with ur nightvision camera. Grab the item at the far back of the map, then make ur way back. I was attacked on the way back - so be prepared for that! Even if u follow the rails, u could still get attacked. If u do get attacked, just sprint ur way back to the intersection, and turn right, towards the tunnel. Once there, ur save, and u can finish the objective! Make sure u do NOT use ur flashlight throughout this entire part, cuz u may actually kill one of them, so avoid the flashlight all together in this part of the game. Basically, avoid the flashlight completely throughout this entire game, except in parts where these monsters arent present.
By E Z Z I L I on 01 Sep 2019 02:25
Changed my mind and I did a speed run to try again for this and the break the cycle achievement, seeing as I finished off all the collectables on my last playthrough. It didnt take too long and it worked this time, got both.
The only things I did differently this time for the pacifist cheevo, that I'm aware of, were only using the railcart to get to the first Camp A where the blockage is, and then I only walked from there onwards to finish that whole section (not sure if the monster that you see briefly if you ride the cart to the maintenance shed counted as a kill, it didn't appear when I walked), and in chapter 15 when it says look up I made sure I had the camera equipped rather than the flashlight in case that was a kill, and quickly switched to the camera straightaway when it resumes.
I don't know if the "rage section" at the end counts against you for pacifist but because I was also trying for the other cheevo I didn't get it and could just walk to the basement normally.
By JOHN SWFC on 26 Aug 2021 00:44
I have uploaded a video where I show how to get the Achievements "Pacifist" and "Ray of hope". It's in 4K, but it might take some time for YT to process it to 4K. So, if it's 360p in the meantime, y'all know why XD
Here's the vid:
Here's the vid:
1 Comment
Heads up - whichever item you get first in Chapter 8, the pressure thing or valve, go back to the camp and put it on the machine before moving onto the second one and you'll get a checkpoint/savepoint.
By Maiden Ty One on 16 Jan 2020 21:35


 Sashamorning
 TrueAchievements

 E Z Z I L I